WebRTC+Pythonを用いたリモート・リアルタイム映像処理開発方法の紹介

こんにちは、テリーです。今回はいつも以上にニッチなお話です。カメラ画像処理アプリケーションは映像を取得したコンピュータ上で行うことが一般的です。それは映像を伝送する際の圧縮復元で画質が劣化してしまうことと、伝送先での映像のトランスコード処理の集中ですぐにCPUが逼迫することが容易に想定されるからです。そのため、低遅延映像伝送後の映像処理の開発事例はあまり取り上げられていません。カメラが接続されたコンピュータ上で自作プログラムが動かせないことがありますし、開発言語が違う場合もあるでしょう。そこで今回はリモートカメラの映像をWebRTCで送受信し、Pythonで画像処理を加えて送り返す、ライブトランスコーディングの開発方法を紹介したいと思います。
動作環境
本記事は以下のバージョンを用いて動作を確認しています。
- MacBook Pro (16-inch, 2019)
- macOS Big Sur 11.5.2
- Chrome 94.0.4606.71
- Docker desktop 4.1.0
- Ubuntu 20.04.3 LTS
- aiortc 1.2.1
- OpenCV 4.5
aiortcをインストール
Python製WebRTC実装・aiortcを使用します。GitHubからaiortcを入手した後、VSCodeを使用してフォルダを開きます。
git clone https://github.com/aiortc/aiortc.git
cd aiortc
code .
VSCodeのRemote-Containersプラグインを利用して、下記のファイルを追加・修正し、UbuntuのDockerコンテナとして立ち上げます。
- .devcontainer/devcontainer.json
// For format details, see https://aka.ms/devcontainer.json. For config options, see the README at: // https://github.com/microsoft/vscode-dev-containers/tree/v0.202.1/containers/ubuntu { "name": "aiortc", // 変更 "runArgs": ["--init"], "build": { "dockerfile": "Dockerfile", // Update 'VARIANT' to pick an Ubuntu version: hirsute, focal, bionic // Use hirsute or bionic on local arm64/Apple Silicon. "args": { "VARIANT": "focal" } }, // Set *default* container specific settings.json values on container create. "settings": {}, // Add the IDs of extensions you want installed when the container is created. "extensions": [], // Use 'forwardPorts' to make a list of ports inside the container available locally. // "forwardPorts": [], // Use 'postCreateCommand' to run commands after the container is created. // "postCreateCommand": "uname -a", // Comment out connect as root instead. More info: https://aka.ms/vscode-remote/containers/non-root. // "remoteUser": "vscode" // コメントアウト } - .devcontainer/Dockerfile
# See here for image contents: https://github.com/microsoft/vscode-dev-containers/tree/v0.202.1/containers/ubuntu/.devcontainer/base.Dockerfile

# [Choice] Ubuntu version (use hirsuite or bionic on local arm64/Apple Silicon): hirsute, focal, bionic
ARG VARIANT="hirsute"
FROM mcr.microsoft.com/vscode/devcontainers/base:0-${VARIANT}

# [Optional] Uncomment this section to install additional OS packages.
# RUN apt-get update && export DEBIAN_FRONTEND=noninteractive \
#     && apt-get -y install --no-install-recommends
次にVSCodeのターミナル内で下記のコマンドを実行し、aiortcをインストールします。
apt update
apt install -y python3-pip libgl1-mesa-dev libglib2.0-0
pip install aiohttp aiortc opencv-python opencv-contrib-python websockets
以上でインストールは完了です。
WebRTCで受信
インストールが正常に完了しているかを確認するためにまずはサンプルコードを実行します。
cd examples/apprtc
python3 apprtc.py
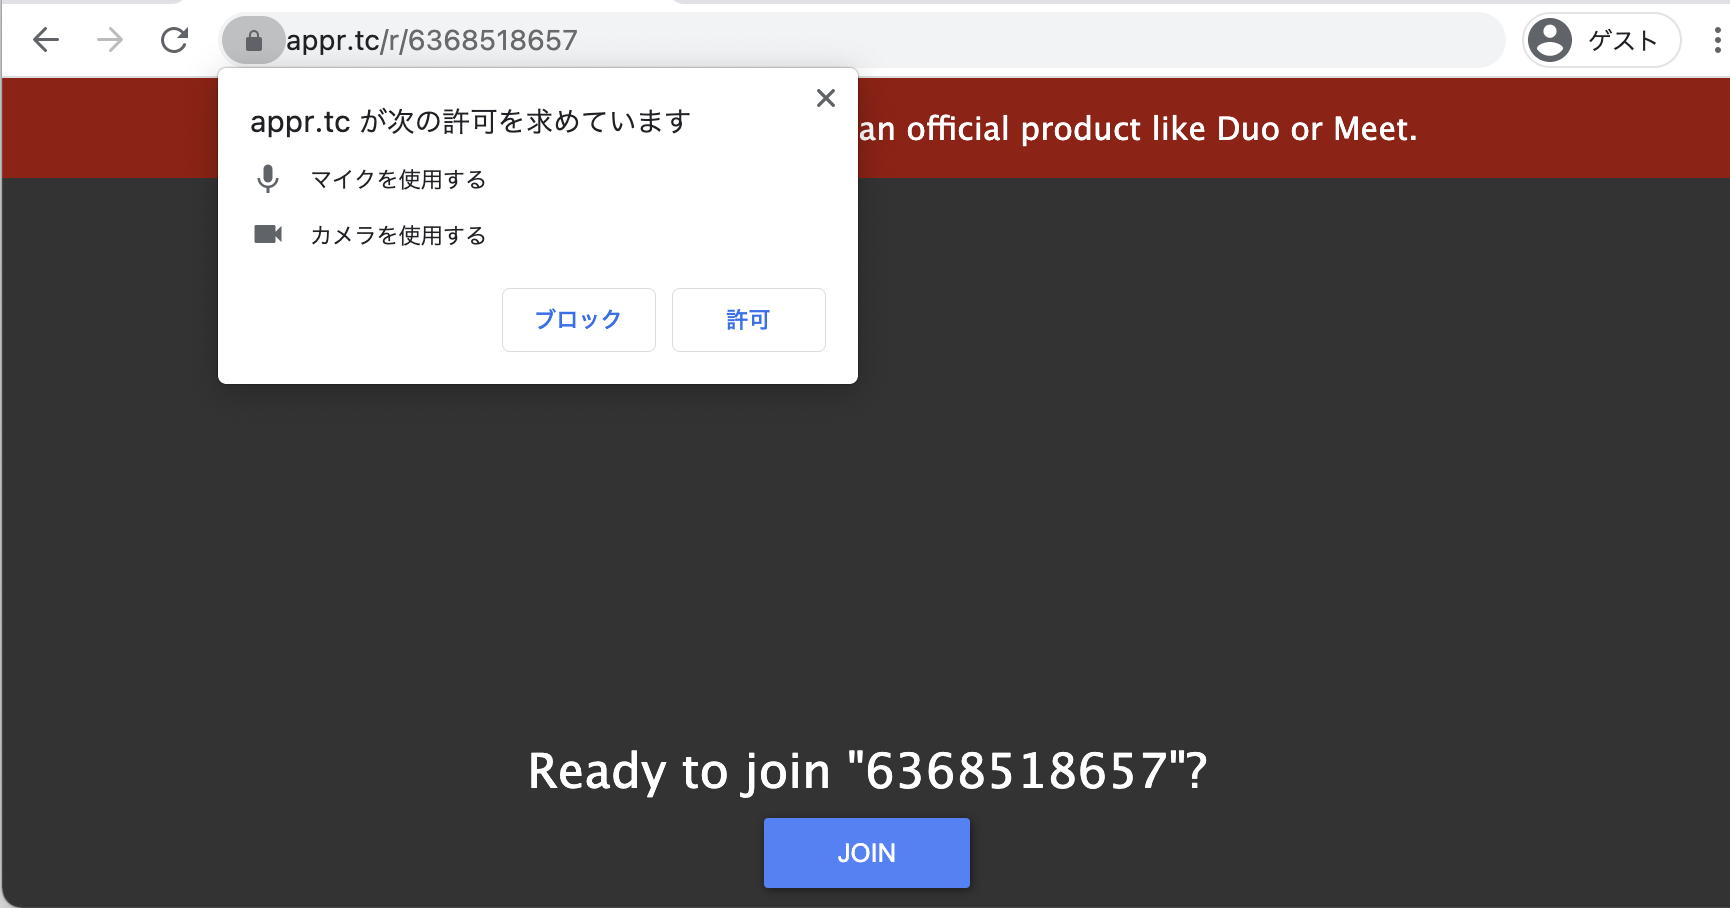
すると下記のようなログが出力されます。1行目のURL部分( https://appr.tc/r/6368518657 )をコピペしてブラウザで開きます。このURLはランダムで生成され、実行のたびに数値が変わります。

カメラ・マイクの使用を許可し、「Ready to join "6368518657"?」という質問の下の青いボタン「JOIN」を押し、ブラウザからWebRTCに接続します。
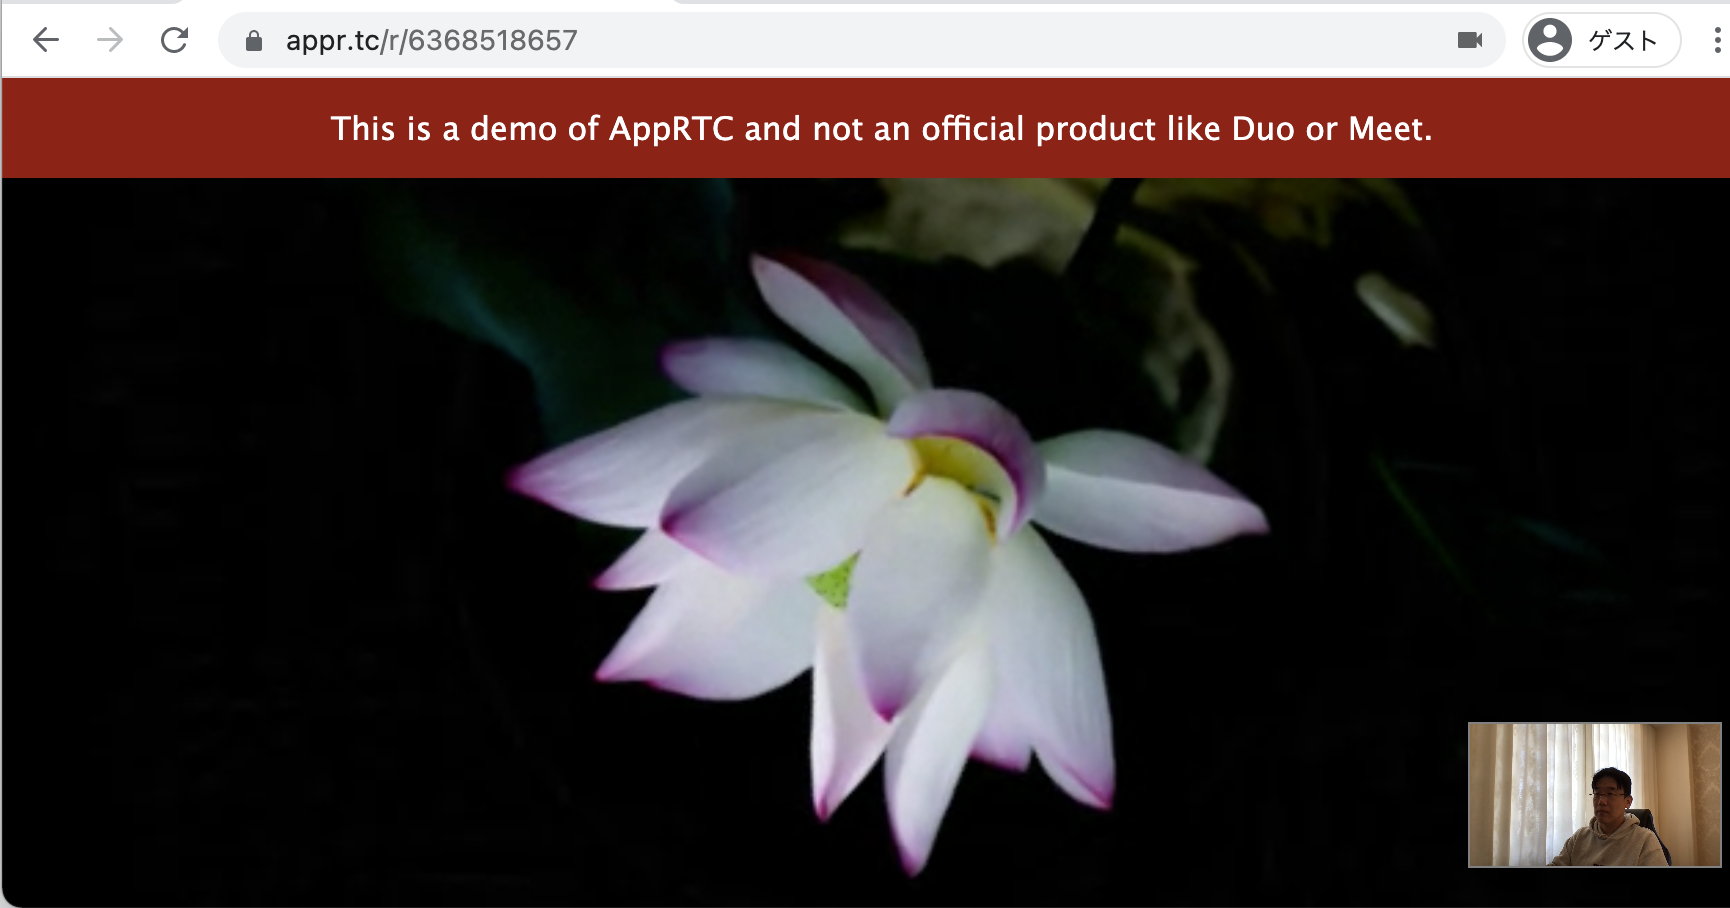
すると睡蓮の花がクルクルと反時計回りに回転する映像が再生されます。この映像はPythonで順次回転処理がされた画像ですので、ステートフルな処理が可能であることが確認できます。
ブラウザのこのタブを閉じると、apprtc.pyのコードも自動終了します。
OpenCVで画像処理するエコーバック
次に別のサンプルを見てみましょう。examplesのserverフォルダです。これは配信用のWebページと受信用のPythonコードが深く結合しています。下記のコマンドを実行すると、ポート8080でhttpサーバが立ち上がります。
cd /workspaces/aiortc/examples/server
python3 server.py
ブラウザで http://localhost:8080/ にアクセスすると、下記のようなWebページが表示されます。
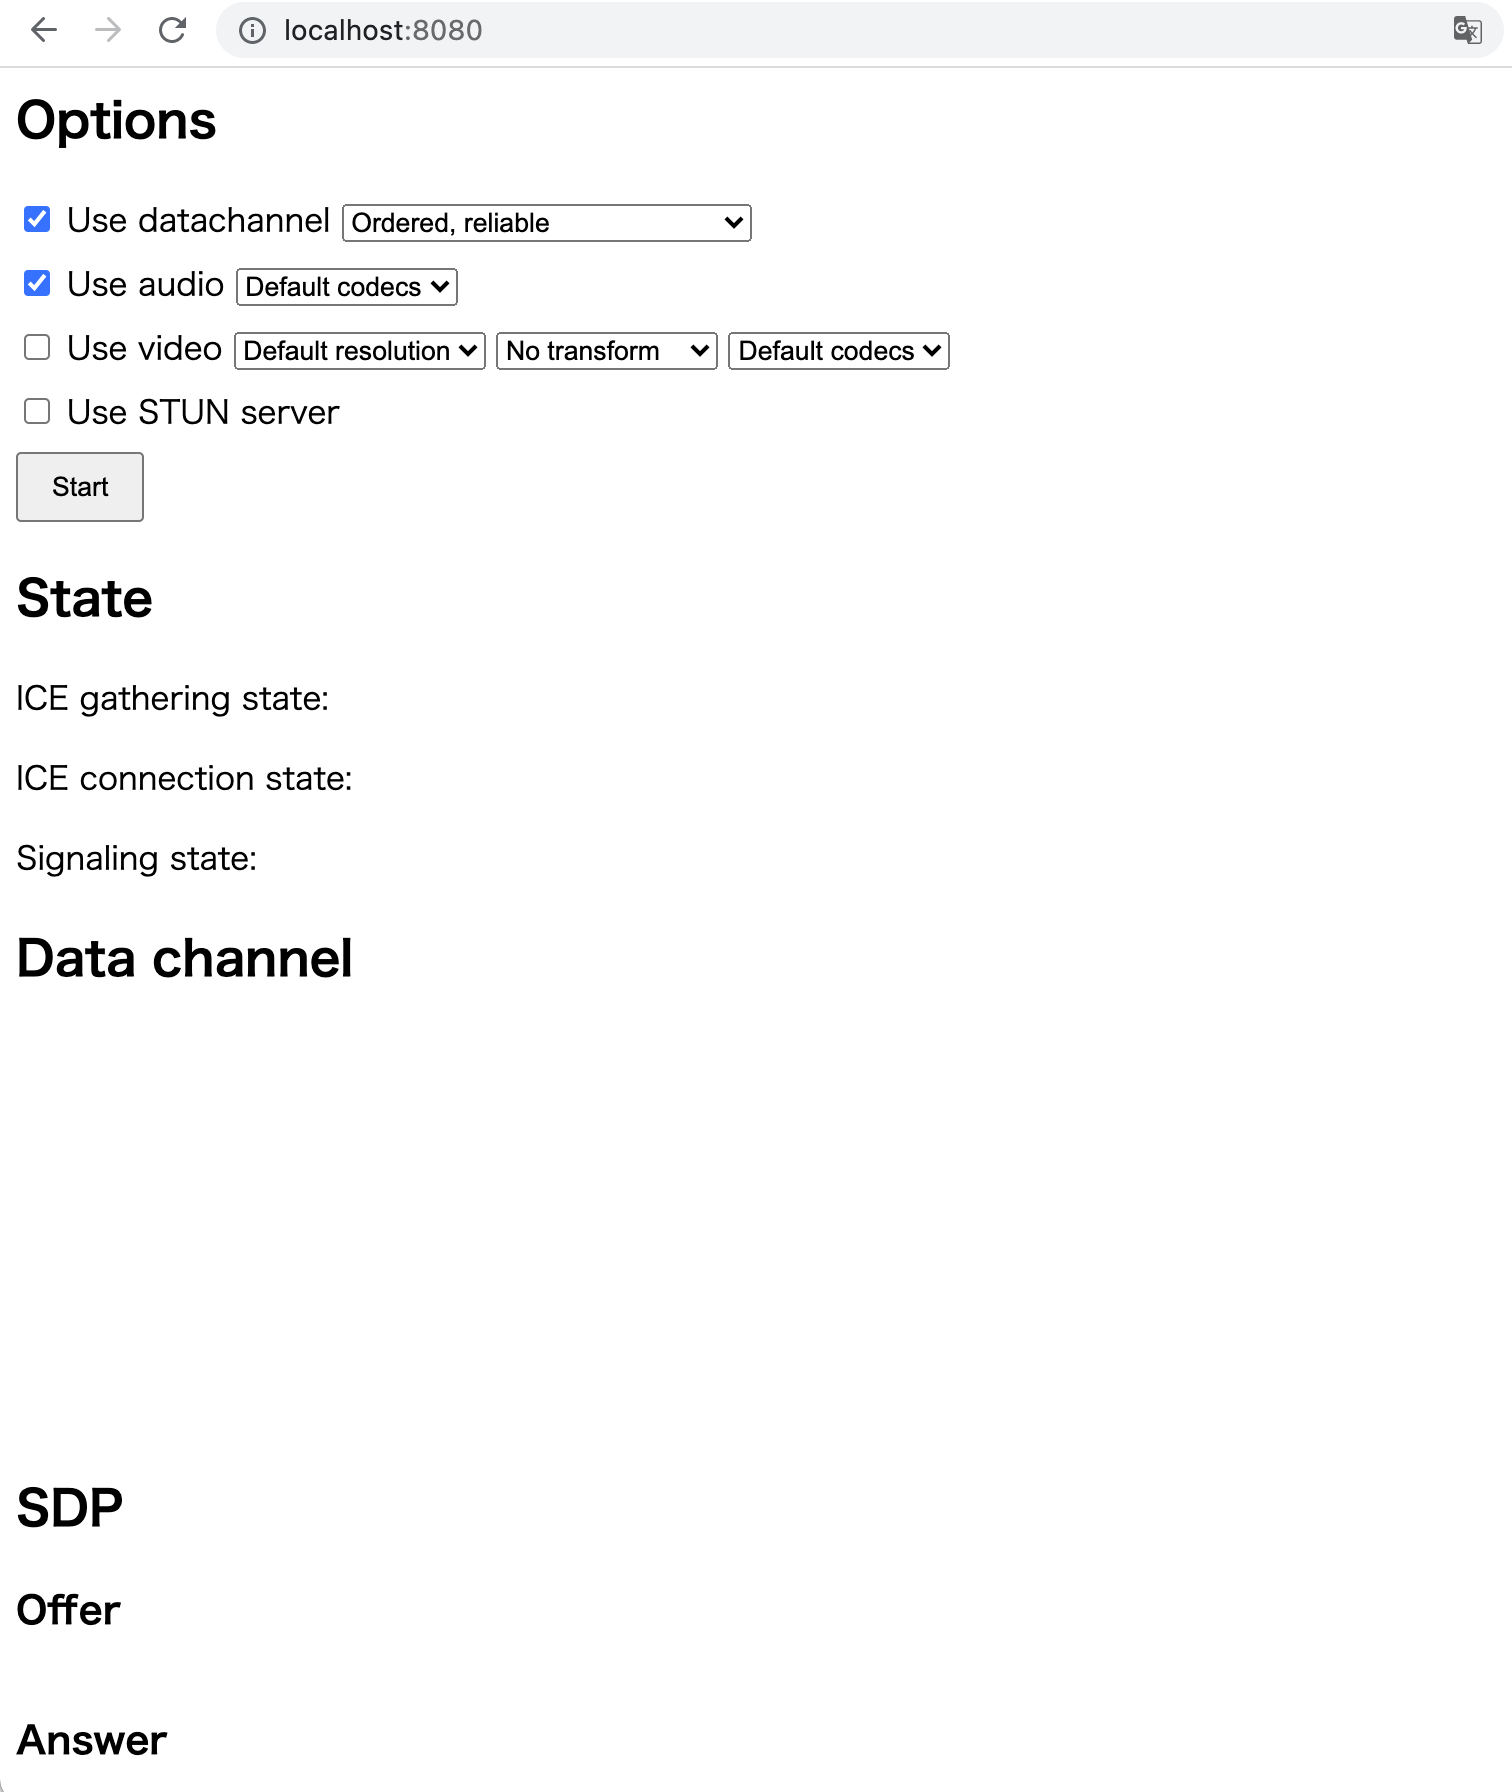
「Use video」のチェックボックスにチェックをつけ、その行の右側の「No transform」と書かれた部分を「Cartoon Effect」に変更し、Startボタンを押します。カメラ映像が配信され、pythonコードでOpenCVのCartoonエフェクト処理された映像が表示されます。また、英語の音声が流れてくることも確認できます。

しばらく配信していると徐々にタイムラグが積み重なっていくことが確認できます。全部のフレームを順次処理しているのでしょう。これではライブ配信には使えません。
画像処理のコードを修正
フレーム画像処理のコードを見てみましょう。examples/server/server.pyというファイルの23行目から始まるVideoTransformTrackです。その中のrecv関数、さらにその中の38〜66行目(「if self.transform == "cartoon":」から次のelifの前まで)がOpenCVのcartoon処理です。フレームを受け取り、その画素データを元に新しいフレームを生成して返しています。
class VideoTransformTrack(MediaStreamTrack):
    """
    A video stream track that transforms frames from an another track.
    """

    kind = "video"

    def __init__(self, track, transform):
        super().__init__()  # don't forget this!
        self.track = track
        self.transform = transform

    async def recv(self):
        frame = await self.track.recv()

        if self.transform == "cartoon":
            img = frame.to_ndarray(format="bgr24")

            # prepare color
            img_color = cv2.pyrDown(cv2.pyrDown(img))
            for _ in range(6):
                img_color = cv2.bilateralFilter(img_color, 9, 9, 7)
            img_color = cv2.pyrUp(cv2.pyrUp(img_color))

            # prepare edges
            img_edges = cv2.cvtColor(img, cv2.COLOR_RGB2GRAY)
            img_edges = cv2.adaptiveThreshold(
                cv2.medianBlur(img_edges, 7),
                255,
                cv2.ADAPTIVE_THRESH_MEAN_C,
                cv2.THRESH_BINARY,
                9,
                2,
            )
            img_edges = cv2.cvtColor(img_edges, cv2.COLOR_GRAY2RGB)

            # combine color and edges
            img = cv2.bitwise_and(img_color, img_edges)

            # rebuild a VideoFrame, preserving timing information
            new_frame = VideoFrame.from_ndarray(img, format="bgr24")
            new_frame.pts = frame.pts
            new_frame.time_base = frame.time_base
            return new_frame
        elif self.transform == "edges":
            # perform edge detection
            img = frame.to_ndarray(format="bgr24")
            img = cv2.cvtColor(cv2.Canny(img, 100, 200), cv2.COLOR_GRAY2BGR)

            # rebuild a VideoFrame, preserving timing information
            new_frame = VideoFrame.from_ndarray(img, format="bgr24")
            new_frame.pts = frame.pts
            new_frame.time_base = frame.time_base
            return new_frame
        elif self.transform == "rotate":
            # rotate image
            img = frame.to_ndarray(format="bgr24")
            rows, cols, _ = img.shape
            M = cv2.getRotationMatrix2D((cols / 2, rows / 2), frame.time * 45, 1)
            img = cv2.warpAffine(img, M, (cols, rows))

            # rebuild a VideoFrame, preserving timing information
            new_frame = VideoFrame.from_ndarray(img, format="bgr24")
            new_frame.pts = frame.pts
            new_frame.time_base = frame.time_base
            return new_frame
        else:
            return frame
一番簡単な修正方法は、OpenCVの処理を間引きすることです。最新の加工済みフレームをメモリに控えておき、2枚に1回はOpenCVの処理をスキップします。フレームレートが実質1/2になりますが、処理に余裕が出て、タイムラグの積み重ねはなくなります。下記の赤字のコードを追記します。
class VideoTransformTrack(MediaStreamTrack):
    """
    A video stream track that transforms frames from an another track.
    """

    kind = "video"

    def __init__(self, track, transform):
        super().__init__()  # don't forget this!
        self.track = track
        self.transform = transform
        self.frame_idx = 0
        self.last_img = None

    async def recv(self):
        frame = await self.track.recv()

        self.frame_idx += 1
        if self.frame_idx % 2 == 0 and self.last_img is not None:
            frame = self.last_img
            return frame

        if self.transform == "cartoon":
            img = frame.to_ndarray(format="bgr24")

            # prepare color
            img_color = cv2.pyrDown(cv2.pyrDown(img))
            for _ in range(6):
                img_color = cv2.bilateralFilter(img_color, 9, 9, 7)
            img_color = cv2.pyrUp(cv2.pyrUp(img_color))

            # prepare edges
            img_edges = cv2.cvtColor(img, cv2.COLOR_RGB2GRAY)
            img_edges = cv2.adaptiveThreshold(
                cv2.medianBlur(img_edges, 7),
                255,
                cv2.ADAPTIVE_THRESH_MEAN_C,
                cv2.THRESH_BINARY,
                9,
                2,
            )
            img_edges = cv2.cvtColor(img_edges, cv2.COLOR_GRAY2RGB)

            # combine color and edges
            img = cv2.bitwise_and(img_color, img_edges)

            # rebuild a VideoFrame, preserving timing information
            new_frame = VideoFrame.from_ndarray(img, format="bgr24")
            new_frame.pts = frame.pts
            new_frame.time_base = frame.time_base
            self.last_img = new_frame
            return new_frame
        elif self.transform == "edges":
            # perform edge detection
            img = frame.to_ndarray(format="bgr24")
            img = cv2.cvtColor(cv2.Canny(img, 100, 200), cv2.COLOR_GRAY2BGR)

            # rebuild a VideoFrame, preserving timing information
            new_frame = VideoFrame.from_ndarray(img, format="bgr24")
            new_frame.pts = frame.pts
            new_frame.time_base = frame.time_base
            self.last_img = new_frame
            return new_frame
        elif self.transform == "rotate":
            # rotate image
            img = frame.to_ndarray(format="bgr24")
            rows, cols, _ = img.shape
            M = cv2.getRotationMatrix2D((cols / 2, rows / 2), frame.time * 45, 1)
            img = cv2.warpAffine(img, M, (cols, rows))

            # rebuild a VideoFrame, preserving timing information
            new_frame = VideoFrame.from_ndarray(img, format="bgr24")
            new_frame.pts = frame.pts
            new_frame.time_base = frame.time_base
            self.last_img = new_frame
            return new_frame
        else:
            return frame
さらなる修正
フレームレートを一律半減など許せん、という方もいるでしょう。わかります。処理開始からの経過時間と、フレーム情報の時刻の差分を比較し、処理が追いついていないときに限り処理をスキップします。下記のようにコードを修正します。スキップ判定のしきい値を0.2秒としています。
class VideoTransformTrack(MediaStreamTrack):
    """
    A video stream track that transforms frames from an another track.
    """

    kind = "video"

    def __init__(self, track, transform):
        super().__init__()  # don't forget this!
        self.track = track
        self.transform = transform
        self.frame_idx = 0
        self.last_img = None
        self.start_time = None

    async def recv(self):
        frame = await self.track.recv()

        self.frame_idx += 1
        # if self.frame_idx % 2 == 0 and self.last_img is not None:
        #     frame = self.last_img
        #     return frame
        if self.start_time is None:
            self.start_time = time.time()
        if time.time() - self.start_time - frame.pts * frame.time_base * 1.0 >= 0.2 and self.last_img is not None:
            frame = self.last_img
            return frame

        if self.transform == "cartoon":
(以下変更なし)
まとめ
aiortcを使用すると、WebRTCを使用した映像伝送とPythonで記述されたAI画像処理を組み合わせることができます。ColaboratoryのGPUを使用したり、Tensorflowで加工した映像をビデオ会議に参加させたり、AI検出した結果だけをDataChannelで送り返すこともできるでしょう。興味のある方はぜひ挑戦してみてください。